A walk in closet organizer is not where this project starts. It starts with the room itself: the door swing, wall length, outlet locations, ceiling height, and the actual clothing you need to store. I have seen homeowners spend $2,500 on drawers before discovering that the open door blocked the only usable aisle. Measure first, then buy hardware.
I design closets in Oklahoma City, where older homes often bring crooked walls, shallow rooms, and electrical work that was added one renovation at a time. A system that works in a new 10-by-12 dressing room may fail completely in a 5-by-7 converted bedroom. The goal is not to copy a showroom. It is to make a reliable storage plan for your morning routine.
Start With the Closet Bones
Before choosing an organizer, measure each wall from finished corner to finished corner at the floor, waist height, and ceiling. If those measurements differ by more than half an inch, the wall is not square and your shelves will need scribing or filler strips. Mark every stud, vent, outlet, switch, and plumbing chase. Do not assume a wall is empty because it looks empty.
A standard hanging section needs about 24 inches of depth so garments sit without being crushed against the wall. Add a few inches for trim or sliding doors. Short hanging for shirts and folded pants usually works at 38 to 42 inches high. Long hanging for dresses and coats needs roughly sixty inches, though very long gowns can require more. Double-hang sections use the vertical space efficiently, but they are useless if most of your wardrobe is long.
The door deserves its own drawing. A hinged door can steal 30 square feet of turning space, depending on its width and swing. A pocket door saves floor area but requires a wall cavity without plumbing or wiring. Bifold doors are practical in tight rooms, although their folded panels still occupy part of the opening. Resolve this before drywall, not after the shelving arrives.
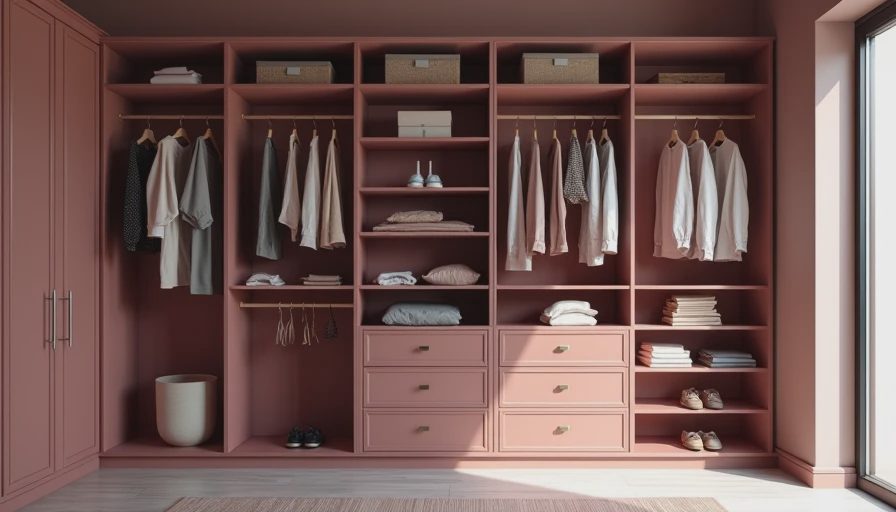
Choose a Layout That Leaves an Aisle
The minimum comfortable aisle is 36 inches. I prefer 42 inches when two people will dress in the room or when drawers open into the walkway. An island generally needs at least 36 inches on every working side, which means a room narrower than about 10 feet is usually a poor candidate for one. A narrow cabinet run is better than an expensive obstacle.
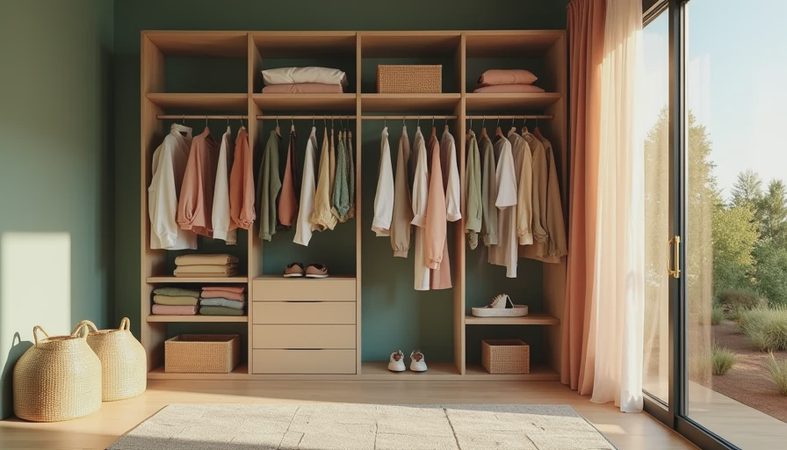
For a single-wall closet, put drawers and adjustable shelves in the most accessible center zone, with hanging rods at either side. In a galley layout, keep opposing depths consistent unless one wall has a specific purpose, such as shoes or shallow folded storage. A U-shaped plan can provide excellent capacity, but only if the center opening remains wide enough to turn and open doors.
I once reviewed a plan with a 30-inch aisle and a 24-inch-deep cabinet on both sides. It looked efficient on paper. In use, the homeowner could not stand in front of a drawer without blocking the opposite wall. Removing one tower created a better room and cost less than adding a premium pull-out. More storage is not automatically better storage.
When comparing a modular walk in closet organizer with a custom installation, compare usable dimensions rather than the catalog width. IKEA PAX, The Container Store Elfa, and Rubbermaid configurations can be useful when the walls are straight and the layout is simple. Custom cabinetry is more forgiving around sloped ceilings, odd corners, and uneven floors, but labor and finishing can push a project well above $5,000.
Put Lighting and Power on the Plan
A ceiling fixture in the middle of the room is rarely enough. Shelves cast shadows on hanging clothes, especially with dark wood or deep cabinets. Use a central fixture plus LED lighting at the front or underside of storage zones. Choose a color temperature around 3000K to 3500K so black, navy, and brown clothing do not all look identical at 6:15 AM.
Lighting circuits should be planned before the walls close. A low-profile LED strip can work under shelves, while vertical lights at the sides of a mirror reduce face shadows. Install switches near the entrance and consider a second switch if the closet has two entries. Do not bury an outlet behind a fixed shoe tower. Put at least one outlet near a counter or vanity location for a steamer, hair tools, or a rechargeable vacuum.
A project I inspected had an outlet placed directly behind the shoe shelves. The owner had to remove three shelves to reach it. Moving the outlet six inches sideways during rough-in would have taken minutes; correcting it after installation required patching drywall and repainting. This is why electrical coordination belongs in the storage drawing.
Match Storage to the Wardrobe
Count clothing by category before ordering components. Measure the width of a representative group of shirts, jackets, jeans, and coats while they are hanging, not while folded in a laundry basket. A tightly packed rod becomes difficult to use and encourages clothes to migrate to a chair. Leave some spare capacity, but do not build empty museum walls around a small wardrobe.
Drawers are valuable for underwear, accessories, workout clothing, and folded T-shirts. They are less useful for bulky sweaters, which often need adjustable shelves 12 to 16 inches apart. Shoe shelves should be sloped only when visibility is worth the lost capacity; flat shelves hold boots and boxes more reliably. A pull-out hamper is convenient, but two smaller baskets can be easier to carry than one heavy deep bin.
For a walk in closet organizer, prioritize adjustable parts over decorative fillers. Shelf pins, movable rods, and removable dividers let the room change when your wardrobe changes. Fixed cubbies look orderly but create dead space when a handbag, boot, or folded blanket does not fit their exact opening.

Materials, Budget, and Installation
Wire systems are economical, ventilated, and quick to reconfigure, but small items can fall through and the appearance is utilitarian. Laminate systems create a cleaner furniture-like face and typically cost more because of thicker panels, edge treatment, and installation. Painted plywood or hardwood cabinets can look excellent, though they require careful finishing and a higher labor budget. Avoid particleboard exposed to damp floors or an exterior wall with a history of moisture.
For a modest reach-in or small walk-in, components may cost $500 to $2,000 before installation. A larger laminate system commonly lands around $3,000 to $8,000, while fully custom cabinetry can exceed $10,000. Those ranges are planning numbers, not bids. The useful comparison is cost per usable storage zone, including drawers, fillers, trim, delivery, and labor.
Install cabinets plumb and fasten them into studs or properly rated blocking. Do not rely on drywall anchors for a heavily loaded hanging tower. Check baseboards before ordering; removing them can save a few inches, but leaving them in place may require notched panels. If the floor is carpet, decide whether the system sits on the carpet or on a solid platform before installation begins. That choice affects leveling and future flooring work.
A Practical Final Walk-Through
Before signing off on a walk in closet organizer, stand in the doorway and test the full sequence: enter, turn on the light, open the largest drawer, reach the top shelf, and pull out the hamper. Hang a real winter coat on the proposed long rod. Place a pair of boots on the lowest shelf. If any action requires twisting sideways, the aisle or depth needs attention.
Then label the storage zones by use rather than appearance. Everyday shirts should be between shoulder and eye level. Seasonal items can occupy higher shelves, but keep a stable step stool nearby and leave enough clearance to use it safely. Keep cleaning supplies away from clothing, and do not place a steamer where its cord crosses the doorway.
The best walk in closet organizer is the one that fits the room, your measurements, and your habits without forcing you to fight the hardware every morning. Spend first on accurate plans, sound attachment, useful lighting, and adjustable storage. Add matching hangers and decorative details after the closet performs. That order saves money and gives you a room that works long after the installation photos are forgotten.
No comments yet — be the first to share a thought.