Walk in Closet Design Layout for Real Homes
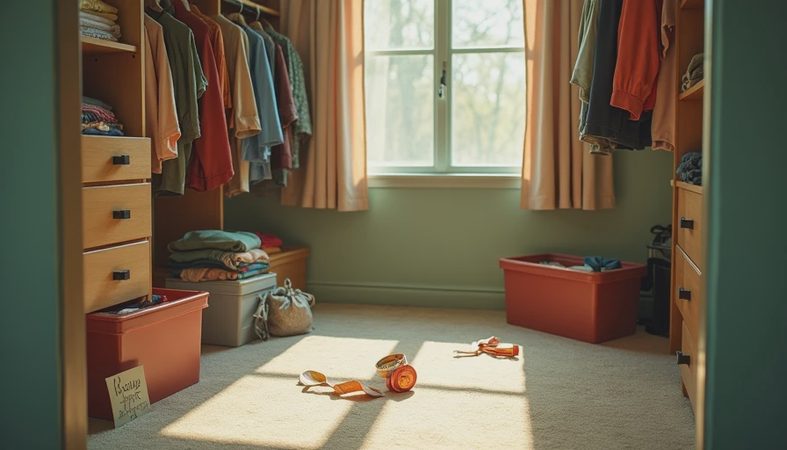
If you are staring at a blank closet shell and wondering where the money actually goes, start with the walk in closet design layout, not the bins. I have seen too many rooms lose their best wall to a bad door swing, a shallow shelf run, or a pretty island that turns a workable closet into a sideways shuffle. The room has to fit your clothes, your habits, and the way you move when you are still half asleep. That means studs, electrical, and clearances come before velvet hangers, especially if you are trying to decide between stock panels, semi-custom systems, or full millwork.
Start With the Bones Before You Pick the System
The first thing I check is not the finish color. It is the room geometry. A closet needs a clear aisle of 36 inches minimum, and 42 inches feels better if two people will ever use it at once. If a hinged door swings into the room, measure that arc before you draw a single shelf. A standard door can eat 20 to 30 inches of usable wall once the knob, trim, and swing path are all accounted for. That is how a promising plan dies.
I also look for outlets, HVAC registers, and light boxes. If the closet has a single bare bulb now, assume it needs better lighting. LED strips under shelves, a ceiling fixture that actually throws light into corners, and one outlet for a valet rod charger or a garment steamer are small upgrades that make daily use easier. Those details are cheap when you rough them in and expensive when you are cutting drywall later.
A good walk in closet design layout starts with the room, then the system follows the room.
A walk in closet design layout for hanging, folding, and shoes
The most useful closet plans are built around what you own in real life. If your wardrobe is mostly shirts, blouses, and jackets, single-hang sections should get the biggest share of wall length. Plan single-hang at about 40 to 42 inches high, with the rod about 80 to 84 inches from the floor if the ceiling allows it. For long dresses and coats, reserve a taller run around 66 to 70 inches for the hanging space.
Shelves work best when they are not pretending to be magic. Twelve to 14 inches deep is enough for folded sweaters, denim, and handbags. Shoes usually need 10 to 12 inches of depth, more if you own men’s boots or chunky sneakers. If you build every shelf at one height because it looks tidy on paper, you end up wasting vertical space above sneakers and crowding tall boots.
I like to size the closet to the clothing category first, then add drawer stacks where the room can afford them. That order keeps the plan honest.

Where stock systems, semi-custom, and custom actually make sense
This is where the budget conversation gets real. IKEA PAX is hard to beat for a straight, predictable room when you are willing to measure carefully and assemble it properly. The Container Store’s Elfa gives you flexibility if your needs change and you want adjustable shelves without going fully custom. Both can be smart choices in the right room. I use them as references all the time because they show what the box can do before you pay for millwork.
For a rough budget, stock systems often land around $500 to $2,000 for a modest room. Semi-custom usually runs about $2,000 to $6,000. Full custom can easily move from $6,000 to $15,000 or more once you add drawers, lighting, upgraded hardware, and installation. That is not a sales pitch for the expensive option. It is a reminder that the fancy part should be the part you actually need, not the part that photographs well.
A walk in closet design layout that fits the room can save you from spending custom money on a room that only needed better planning.
Build the closet in the right order, or pay for it twice
I have watched people order cabinetry before they know where the trim ends or what the door width will be. That is how you end up trimming panels in the garage or reordering a side panel because the baseboard sticks out too far. The smarter sequence is simple: measure the room, confirm the door swing, mark the stud locations, decide the lighting, then finalize the system.
If you are adding electrical, bring in the electrician before the closet company installs the carcasses. A recessed outlet behind a shoe wall is a bad surprise. So is discovering that the only switch is outside the room and the closet lights are on the same circuit as the bath fan. I have seen a $250 lighting change make a room feel twice as finished, and I have seen a $3,000 island become dead weight because the aisle was too tight.
When in doubt, spend on lighting and hardware before decorative extras.
Common mistakes that shrink usable space fast
The biggest mistake is overbuilding the center. If your room is under 7 feet wide, an island usually steals more value than it adds. Another common error is using too many drawers. Drawers are great, but they are not cheap, and a row of them can crowd the only clear wall you need for hanging.
I also see shallow hanging sections all the time. Standard hang depth should be close to 24 inches. Anything less starts crumpling sleeves or pushing clothes into the back wall. Another space killer is ignoring what the baseboard and casing do to the layout. A shelf that looks flush on a drawing can sit awkwardly once trim is installed.
A client of mine once wanted shoe cubbies across the longest wall, but the doorway cut into that wall more than expected. We shifted the shoes to a lower run on the opposite side and used the long wall for double hang. The room worked better, and the clothes were easier to reach.

Final checks for a walk in closet design layout
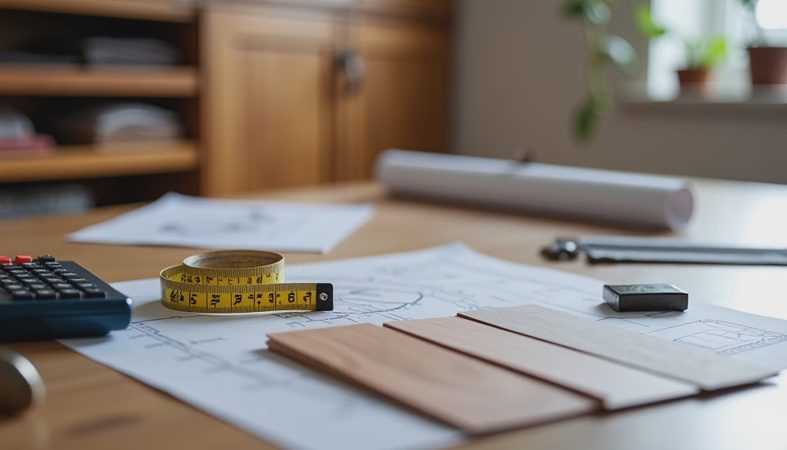
Before you order anything, walk the room with a tape measure and a notepad. Verify the clear aisle. Confirm the door swing. Mark every stud. Measure your longest dress, your tallest boot, your bulkiest coat, and the shelf depth you actually need. Then decide where the drawers belong and whether the room needs a mirror, bench, or outlet.
If you want a quick test, ask one question: can I get dressed here without side-stepping around a bad decision? If the answer is no, revise the plan.
A walk in closet design layout should make the room easier to use at 6:15 in the morning, not just prettier in a rendering. If you are planning a remodel or comparing quotes, start with the bones, then choose the system that fits the bones. That is how you keep the closet useful for years instead of fixing it after the drywall dust settles.



No comments yet — be the first to share a thought.