Closet remodeling is not primarily a shopping trip for matching bins and velvet hangers. It is a small construction project with walls, electrical work, door clearances, ventilation, and storage that must fit the clothes you actually own. I have seen homeowners spend thousands on beautiful components, then discover that a dresser blocks the doorway or that long coats drag on a shelf. Start with the room's bones, and the finished closet will work at 6:15 AM, not just in a photograph.
Start With the Existing Room
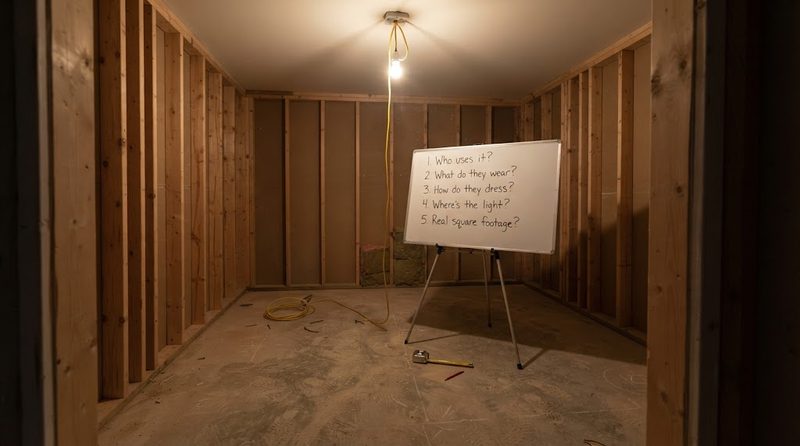
Before drawing shelves, measure the closet at floor level, waist height, and ceiling height. Older homes are rarely square. A 7-by-9-foot room can lose several inches to drywall buildup, baseboard, a chimney chase, or a boxed plumbing line. Measure every wall, door opening, window, outlet, vent, and corner. Photograph the ceiling and mark where joists run if you plan to move a light fixture.
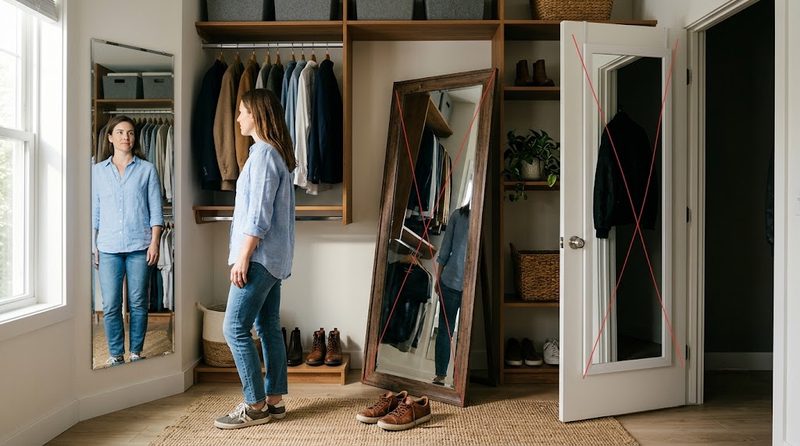
Door swing deserves its own decision. A standard hinged door can consume 7 to 10 square feet of useful floor area. A pocket door gives that area back, but it requires a wall deep enough to receive the door and careful coordination around electrical wiring. A barn-style door is usually a poor choice for privacy and sound control. It also leaves a gap where dust and light can pass. In many closet remodeling projects, changing the door produces more usable space than adding another tower of shelves.
Check the wall framing before assuming every surface can support a loaded cabinet. A stud finder helps, but small exploratory holes behind the baseboard or inside an outlet box can confirm what is actually there. If you are removing drywall, ask whether the wall is load-bearing before swinging a hammer. The framing plan is not exciting, but it prevents the expensive kind of surprise.

Lay Out the Aisles and Storage Zones
The minimum comfortable aisle is about 36 inches. I prefer 40 to 42 inches when two people dress in the same room or when drawers face each other. A 24-inch-deep hanging cabinet on one side and a 14-inch-deep shelf on the other leaves a workable passage in a room roughly 7 feet wide. Add an island, and the room usually needs to be at least 10 feet wide to avoid making the walkway feel like a hallway.
Use the perimeter for the storage that must be reached often. Double-hang sections need roughly 40 inches from rod to rod, although shirts and folded trousers can sometimes use less. Long-hang sections need about 60 inches for dresses and coats; measure your longest garment instead of trusting a standard chart. Shelves for shoes generally work at 10 to 12 inches deep, while folded clothing shelves are more useful around 12 to 16 inches deep. Deeper shelves invite piles that disappear in the back.
Group the layout by behavior, not by furniture category. Put everyday tops near the entry, shoes below the dressing area, and laundry near the door if you carry it directly to a hamper. Reserve the hardest-to-reach upper shelves for luggage, holiday items, and off-season clothing. This is where good closet remodeling earns its cost: the room reduces daily steps instead of simply holding more stuff.
Plan Electrical and Lighting Before Drywall
A single ceiling fixture is rarely enough. It puts your body between the light and the clothes, creating shadows precisely where you are trying to compare navy and black. A better plan combines a central ceiling fixture with evenly spaced LED fixtures or a continuous LED strip under shelves. Choose a color temperature around 3000K to 3500K so colors remain readable without making the room feel blue.
Put switches where your hand naturally lands when entering. If the room has a second entrance, use three-way switching rather than walking back through a dark closet. An electrician can also add an outlet for a steamer, charging station, or cordless vacuum. Do not bury an outlet behind a fixed shoe tower. I once reviewed a plan where the only receptacle sat exactly where the cabinet installer needed to anchor the panel. Moving it before installation was simple; moving it after the millwork was not.
Ventilation matters in Oklahoma City, especially during humid summer weather. Do not block a supply register with a tall cabinet, and do not cover a return grille. If the closet has no air movement, ask a qualified HVAC professional about the practical solution rather than cutting an unapproved transfer grille into a wall.

Choose Components That Match the Wardrobe
Melamine systems are practical because they offer predictable dimensions, clean edges, and a manageable price. Basic installed systems often land in the low thousands for a modest reach-in or small walk-in, while more extensive custom cabinetry can reach $10,000 or more. The price difference usually comes from drawer count, finish, hardware, filler panels, lighting, and installation complexity—not from a magical increase in hanging space.
Wire shelving is inexpensive and ventilated, but small items can tip through the grid and folded stacks can develop ridges. It works well for linens, utility storage, and some reach-ins. Wood shelves provide a more finished surface but need adequate support, especially across wide spans. Keep shelf spans reasonable or add a vertical divider before books, shoes, or denim turn the board into a shallow banana.
Drawers are worth paying for when they replace a daily rummage. Three shallow drawers for jewelry, belts, and socks are often more useful than one deep drawer where everything becomes a pile. Soft-close hardware is pleasant, but a solid drawer box and full-extension slides matter more. Spend first on the components your hand uses every morning.
Avoid the Common Remodeling Traps
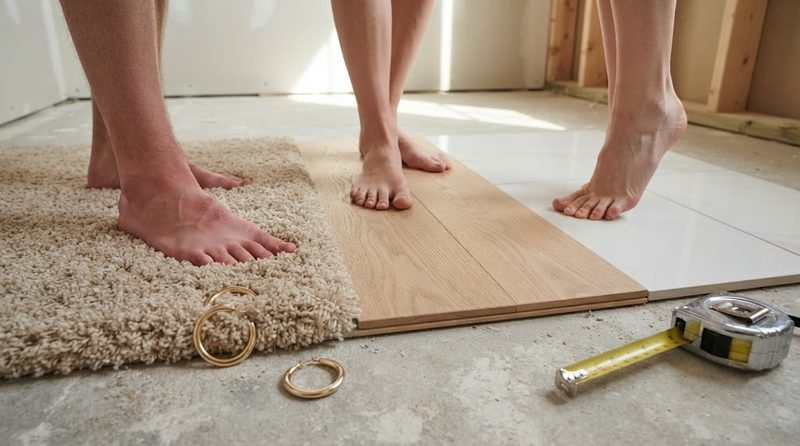
Do not place a center island in a room that barely meets aisle requirements. A freestanding dresser can provide the same folded storage without permanently narrowing the route. Do not install carpet simply because the room feels more comfortable underfoot; a dropped steamer, rolling hamper, or spilled makeup is easier to manage on a hard, cleanable surface. If you choose carpet, use a low pile and leave enough clearance for doors and drawers.
Closet remodeling also fails when homeowners skip a wardrobe inventory. Count hanging shirts, jackets, dresses, trousers, shoes, and folded categories. Measure bulky boots and long coats. A person with 30 pairs of shoes needs a different plan from someone who owns four pairs and several bins of sports equipment. Build approximately 15 percent spare capacity so the room does not become overstuffed immediately.
Finally, confirm installation tolerances. Walls, floors, and ceilings move enough that a cabinet designed to fit exactly from corner to corner may not fit on installation day. Filler strips, scribed panels, and a level base are not wasted material; they are what make built-ins look intentional in an imperfect house.
A Practical Order of Operations
For a reliable closet remodeling schedule, begin with the inventory and measured drawing. Next, decide the door, then confirm framing, HVAC, lighting, and outlets. Get permits where local rules require them, especially when moving electrical or altering walls. Finish demolition before ordering components, because the exposed conditions can change your measurements.
Complete rough electrical and framing first. Then repair drywall, paint the ceiling and walls, install flooring, and set the storage system. Lighting trim, drawer fronts, and accessories come after the cabinets are secure. This sequence protects finished surfaces and gives the installer a clean, level room.
My final test is simple: stand at the entry with the door open, pull every drawer, reach every shelf, and walk the aisle carrying a laundry basket. If any movement feels awkward now, it will feel worse when you are in a hurry. Good closet remodeling is not about filling every inch. It is about giving each inch a job, then leaving enough room for the person who has to use it.

No comments yet — be the first to share a thought.