The first question I get before drawing a closet elevation is simple: what will this actually cost? Custom closet installation cost depends less on the number of baskets in a showroom photo and more on the room's bones, the materials, and how much construction is involved. A basic reach-in can be a manageable project, while a walk-in with new lighting, drywall, and an island becomes a small remodeling job.
For a useful starting point, expect roughly $1,500 to $4,000 for a modest reach-in, $4,000 to $10,000 for a well-equipped walk-in, and $10,000 to $25,000 or more for a large room with premium finishes and electrical work. Those are planning ranges, not a quote. The layout and scope decide where your project lands.
What custom closet installation cost actually includes
A closet estimate usually combines design, materials, delivery, installation, and sometimes general construction. A professional designer might charge nothing for an initial consultation, or add a design fee ranging from $300 to $1,500 for detailed drawings and revisions. Some companies credit that fee toward the installation; others do not. Ask before approving a design package.
The storage itself is commonly priced by linear foot. Melamine systems often run about $100 to $300 per linear foot installed, depending on thickness, hardware, drawers, and accessories. Painted wood, veneer, and furniture-grade cabinetry can push that figure to $300 to $800 per linear foot. A wall with six feet of hanging space is not automatically a $600 job if it includes four soft-close drawers, a hamper pullout, lighting, and a finished end panel.
Installation is another line item to examine. A straightforward system anchored into sound studs may take one day and cost $500 to $1,500 in labor. A complicated room with uneven walls, baseboard removal, filler strips, and multiple cabinet sections can take two or three days. If the proposal says only “installation” without describing wall repairs, trim, or haul-away, get those details in writing.
Custom closet installation cost by material and feature
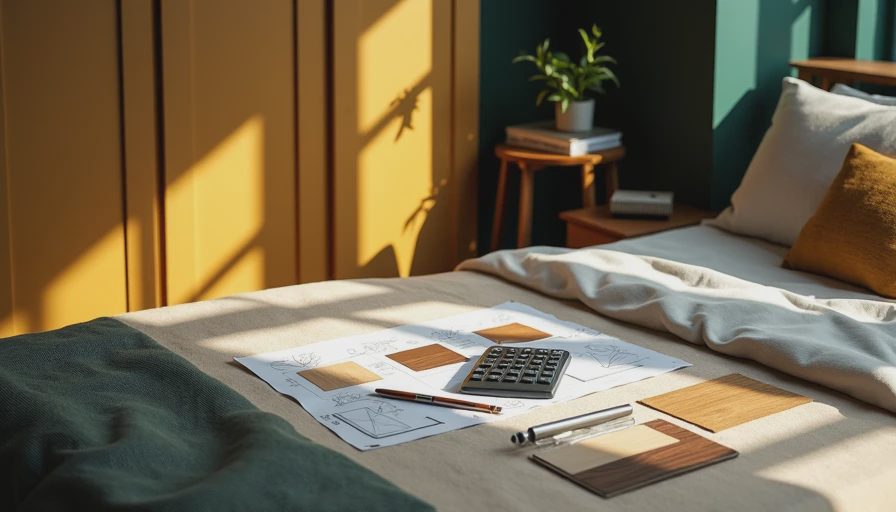
Melamine is the practical workhorse I specify most often. It is stable, available in white, gray, and wood-look finishes, and easy to wipe down. It gives you the best storage per dollar, especially for shelves and hanging towers. The weak points are exposed edges and lower resistance to standing water, so edge banding and careful installation matter.
Wood veneer costs more but gives a warmer, more furniture-like appearance. Solid wood is rarely necessary for every component. I would rather use a durable veneer cabinet with quality drawer hardware than spend the entire budget on solid oak shelves that add little function. A mix of melamine interiors, veneered drawer fronts, and a solid surface countertop can control the total without making the room feel unfinished.
Drawers are expensive because they require boxes, slides, fronts, and precise alignment. Budget approximately $150 to $400 per installed drawer for ordinary custom work, with premium materials and hardware costing more. A tilt-out hamper may run $250 to $600. Pull-down wardrobe lifts, shoe trays, valet rods, and belt racks commonly add $50 to $300 each. Choose accessories based on your actual wardrobe, not a catalog checklist.
Lighting also changes the budget. A simple plug-in LED strip system may cost a few hundred dollars. Recessed fixtures, switched circuits, new wiring, and electrician labor can add $800 to $2,500 or more. A finished closet needs light at the face of the clothing, not just one ceiling fixture behind your head.
Start with measurements before choosing a system
Measure every wall, then measure again after removing existing shelving. Record ceiling height, door width, door swing, window trim, registers, outlets, and visible plumbing. Locate studs before ordering panels. In older Oklahoma City houses, walls are not always square, and a design that looks perfect on graph paper can require several inches of filler at the job site.
The main aisle should be at least 36 inches wide. I prefer 42 inches when two people will dress in the room or when an island is included. Hanging sections generally need about 24 inches of clear depth, while shelves for folded clothing work well around 12 to 16 inches deep. Shoes need less depth, but boots and large boxes need you to plan beyond the standard shelf setting.
Pay attention to the door. A wide swing door can steal usable storage from one wall. A pocket door saves that swing area but requires a suitable wall cavity and construction budget. Bifold doors can work in a reach-in, although their hardware and opening pattern affect access to the corners. Do not finalize cabinet widths until the door and trim decisions are settled.
Construction costs people forget to budget
The storage package is only part of the custom closet installation cost. If you are converting a bedroom, you may need drywall repair, new baseboards, paint, flooring, or HVAC adjustments. Removing carpet before installing cabinetry can save future frustration, but replacing it afterward may cost $500 to $2,000 depending on room size and material. Hard flooring is easier to vacuum around shoe shelves and less likely to trap dust under low cabinets.
Electrical planning deserves its own site visit. One client wanted a charging drawer for a phone and a cordless vacuum, but the only outlet was behind the proposed shoe tower. Moving it after installation would have meant removing finished panels. Place outlets where they remain accessible, and consider a dedicated switch for ceiling or cabinet lighting. If you add a center island, leave enough clearance for drawers to open without blocking the walkway.
Ventilation is another practical issue. Do not cover a supply register with a drawer stack, and do not place delicate clothing directly against a damp exterior wall. In a warm, humid season, air movement matters more than another decorative shelf. A closet that holds expensive clothes needs sensible building decisions before it needs brass hooks.
How to control the budget without weakening the layout
The easiest savings usually come from reducing accessories, not reducing usable storage. Keep double-hang sections for shirts and pants, then reserve long-hang space for dresses, coats, and jumpsuits. If you rarely wear formal clothing, a full eight-foot tower of long hanging is wasted material. Spend that money on drawers or adjustable shelves you will touch daily.
Use closed cabinetry selectively. Doors add fronts, hinges, and installation time. Open shelves are cheaper and make folded clothing visible, while closed drawers protect smaller items from dust. A useful compromise is open hanging storage with drawers below and doors only where visual clutter would bother you.
Compare at least three proposals, but compare scopes rather than totals. One installer may include wall repair, delivery, and removal while another lists them as extras. Ask about panel thickness, edge treatment, drawer-slide rating, warranty, payment schedule, and what happens if the installer finds an uneven wall. Request a scaled drawing that shows aisle widths and door clearances.
A realistic planning sequence
Start by editing the wardrobe, but do not design around an imaginary version of it. Count shirts, jackets, folded stacks, shoes, bags, and long garments. Then measure the room and mark the minimum aisle on the floor with painter's tape. Live with that outline for a day. If a taped island makes the room feel cramped, the real island will be worse.
Next, set a total budget with a construction reserve of about 10% to 15%. Approve the electrical and wall plan before ordering cabinets. Review finish samples in the actual room because a bright showroom can make white melamine look warmer or cooler than it will at home. Finally, schedule installation after dusty work is complete and before final touch-up painting.
The right custom closet installation cost is the one that buys reliable access, sensible clearances, and storage matched to your wardrobe. A $6,000 room that functions every morning is better value than a $12,000 room with a blocked drawer and unreachable corner. Get the structure right first, then spend on the features your hands will use.



No comments yet — be the first to share a thought.