Shoe storage solutions are usually chosen too late, after the rods, drawers, and lighting have already claimed the useful wall space. That is how a closet ends up with expensive shelves above eye level and a pile of boots blocking the door. Start with the shoes you actually own, then work backward into dimensions, circulation, and access. A closet should let you find work shoes at 6:15 AM without moving six pairs of sandals first.
Start with the closet bones
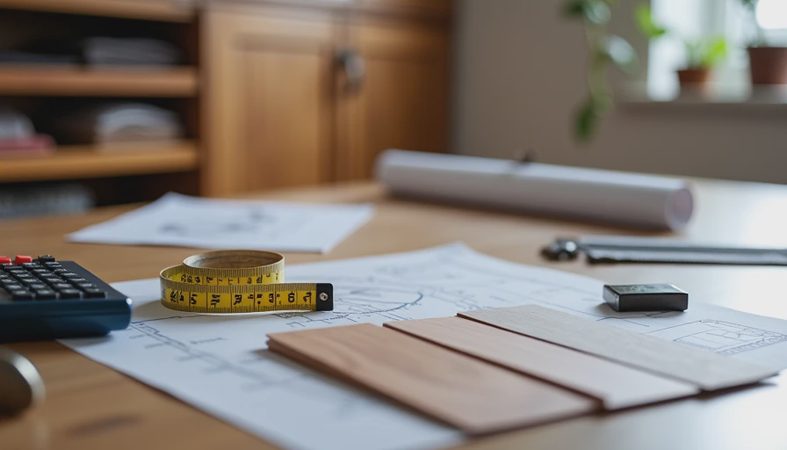
Before comparing racks, measure the wall, door swing, baseboards, and nearby electrical locations. A standard shoe shelf is often 10 to 14 inches deep. That is enough for most women’s sneakers, flats, and low heels, but ankle boots can need 12 inches and tall boots may need 16 to 18 inches of vertical clearance. Do not order a system until you know where the shelves will meet the door casing or a return wall.
The aisle matters just as much as the shelf. I use 36 inches as a practical minimum for a single-user closet, with 42 inches feeling noticeably better when drawers open into the walkway. If you are placing shoe shelves opposite hanging clothes, open a drawer and stand in front of it. If your hips are touching the other side, the layout is too tight. No organizer bin fixes a bad aisle.
For a new build or major renovation, mark the stud locations before specifying tall cabinets. A loaded shoe tower is heavy, particularly when made from melamine panels. Secure it into studs or properly installed blocking rather than relying on drywall anchors. Also plan lighting before the shelves go in. A ceiling fixture may illuminate the floor, but it will not necessarily light the back of a 14-inch cabinet.
Pick the right type of storage
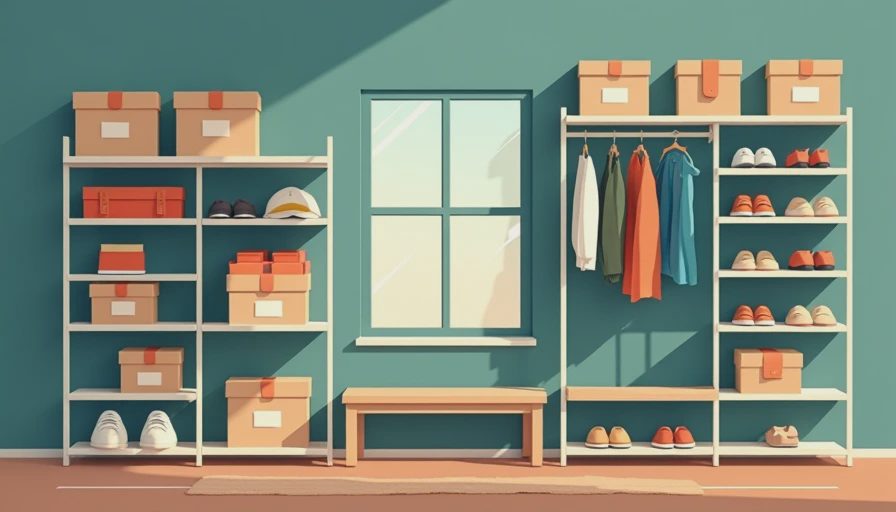
Open adjustable shelves are the most flexible shoe storage solutions for a growing wardrobe. They let you change spacing for sneakers, loafers, and boots without rebuilding the wall. A shelf around 12 inches wide can hold one pair comfortably, while a 24- to 30-inch section can hold two or three pairs depending on shoe size. Slanted shelves improve visibility, but they usually waste some vertical space and can let pointed shoes slide forward.
Drawers are cleaner visually and protect footwear from dust, but they cost more and require clearance to open. Use them for special-occasion shoes, leather footwear, or pairs you wear less often. A drawer roughly 6 to 8 inches high works for flats and sandals; taller compartments are needed for boots. Do not put drawers below a hanging section unless you have checked the hanging height. A drawer that opens into a dress hem is a daily irritation.
Cabinets with doors make sense near an entry or in a shared dressing room where visual clutter is a problem. Ventilation matters, especially for athletic shoes. A fully sealed cabinet can trap odor and moisture, so use perforated panels, louvers, or leave a small air gap at the back. Wire racks are inexpensive and easy to install, but they can leave narrow heels unstable and often look temporary in a finished walk-in closet.
Size the shelves for real footwear
One of the most useful shoe storage solutions is not a product at all; it is a measured layout. Put your largest pair on the floor and measure its length, width, and height. Add at least 1 inch of width so shoes are not jammed together. For most adult shoes, 11 to 12 inches of depth is a safe starting point. If you wear large athletic shoes, measure those instead of assuming a standard size will work.
Boots need a separate plan. Short Chelsea boots can fit on ordinary shelves, but tall riding or western boots need vertical bays. Allow 16 to 20 inches of height for many tall styles, and more if the shaft stays rigid. Boot shapers can keep leather upright, but they do not reduce the space required. A client in Edmond once designed every bay around sandals and then discovered her winter boots had nowhere to go. We removed two shelves and added one taller opening; it was cheaper than replacing the entire unit.
Use a solid shelf for narrow heels and delicate materials. A wire shelf can leave pressure marks or allow a heel to catch between bars. If you want airflow, choose a ventilated panel with a smaller opening pattern, or place a washable mat on the wire surface. Cheap foam liners are not a substitute for correct shelf spacing.

Make daily access the priority
The best shoe storage solutions put frequent pairs between knee and shoulder height. Reserve the lowest shelves for sneakers, house shoes, and muddy footwear that can tolerate a quick wipe. Use the top shelves for formal shoes or seasonal pairs, but leave enough room to lift a box down without hitting the ceiling. A folding step stool needs a parking location too; otherwise it becomes another object in the aisle.
Group shoes by use rather than by color alone. Work shoes can occupy one section, everyday sneakers another, and formal shoes a drawer or upper cabinet. In Oklahoma City, I would also separate summer sandals from winter boots instead of mixing both seasons across every shelf. Seasonal rotation is easier when one complete category can move to a labeled upper shelf in October and return in April.
If two people share the closet, assign each person a defined zone. Do not split every shelf down the middle if one person owns twice as many shoes. A practical arrangement might give one user a 30-inch tower and the other two 24-inch towers, with a shared lower shelf for outdoor shoes. Clear ownership prevents the slow drift that turns organized shelves into a pile.
Budget without buying the wrong system
Budget shoe storage solutions range from a $40 freestanding rack to several thousand dollars for built-in cabinetry. The cheapest option can work in a rental or temporary closet, but inspect its footprint before bringing it home. Many freestanding racks are 12 inches deep and 30 to 36 inches wide, which sounds modest until the door swing and baseboard are included.
For a semi-custom project, a melamine tower with adjustable shelves often delivers the best balance of cost and flexibility. The Container Store’s Elfa-style components and IKEA PAX-style systems can be useful when the room is square and you are comfortable working around their standard dimensions. Custom work becomes more valuable when the walls are out of square, the ceiling slopes, or boots and specialty footwear need unusual clearances.
Spend money on sturdy hardware and installation before decorative accessories. Soft-close drawer slides, properly anchored panels, and an LED strip with a door switch improve the room every day. A carousel or rotating rack can sound clever, but it needs clear turning space and often stores less than a fixed tower. If the mechanism blocks the only walkway, it is not an upgrade.
A practical installation checklist
Measure the longest shoe, tallest boot, and widest pair. Draw the door swing and mark a 36-inch minimum aisle. Locate studs, outlets, baseboards, and HVAC grilles. Decide whether the shelves will be open, slanted, enclosed, or drawer-based. Assign the most accessible shelves to pairs worn weekly. Test the layout with painter’s tape on the floor before ordering panels.
Then load the system gradually. Keep a few empty shelf positions for new purchases and seasonal changes. Put a washable tray under outdoor shoes, especially if the closet connects directly to a garage or mudroom. Label upper bins with words such as “winter boots” or “formal,” not vague labels like “miscellaneous.” The right shoe storage solutions reduce searching because the physical layout matches the way you get dressed.
A successful closet is not the one with the most shelves. It is the one that respects shoe dimensions, keeps the aisle open, and puts tomorrow morning’s pair where your hand can reach it. Measure first, build around your real footwear, and treat every unused inch as a design decision rather than an invitation to add another rack.



No comments yet — be the first to share a thought.