Easy shoe storage solutions start with the room, not the basket aisle. Before you buy a three-tier rack, measure the wall, check the door swing, and decide whether shoes belong near the entry or inside the dressing area. A closet shoe system that ignores those basics becomes another obstacle by February. I have seen beautiful installations fail because a client could not open the door fully or because the shelves were too shallow for women’s size 11 boots.
The practical goal is simple: every pair needs a visible, reachable home, with enough clearance to remove it without dragging neighboring shoes onto the floor. In most walk-in closets, that means planning the shoe zone at the same time as hanging sections and drawers, not adding it after the cabinets are installed.
Start with walls, door swings, and aisle width
Easy shoe storage solutions are easier to build when you establish the fixed conditions first. Locate studs before specifying wall-mounted rails or tall towers. A loaded shoe shelf is heavier than it looks, particularly when it holds boots, leather loafers, and platform sandals. Use appropriate anchors, but fasten the main cabinet or cleat into studs whenever possible.
Measure the door in its fully open position. A shoe tower behind the swing can make the first shelf unusable, while a cabinet beside the hinge side can damage the door or trim. Keep at least 36 inches of walking clearance in a primary aisle. Thirty inches is workable in a tight reach-in, but it will feel cramped when you are carrying a laundry basket or turning around in a winter coat.
Also mark outlets and lighting circuits before drywall. One Edmond closet I reviewed had a perfect shoe wall but no outlet on that side of the room. The owner wanted LED lighting later, which meant surface wiring and a visible cord across the baseboard. Five minutes with an electrical plan would have prevented that.
Choose shelf dimensions for the shoes you actually own
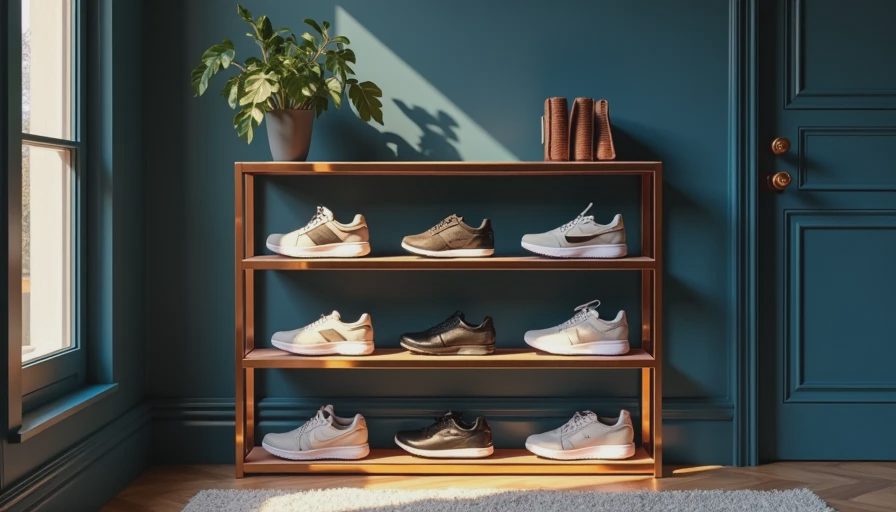
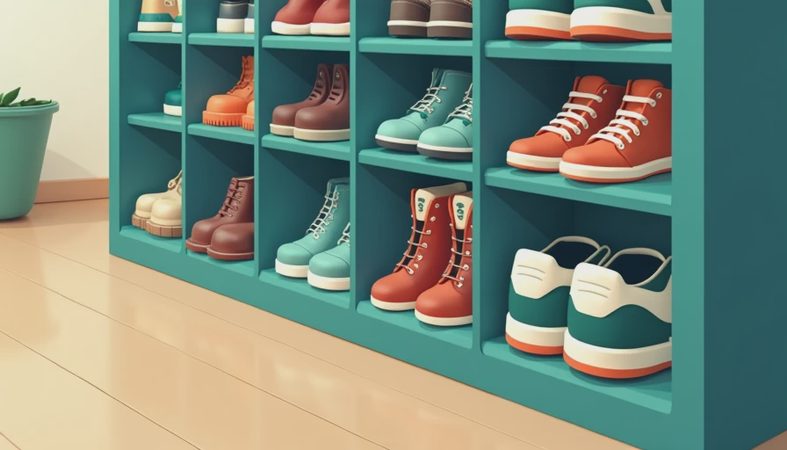
Easy shoe storage solutions fail when every shelf is given the same height. Low-profile flats and running shoes need roughly 6 to 7 inches of vertical space. Ankle boots usually need 9 to 12 inches, while tall boots need considerably more and often benefit from a separate open section. Use adjustable pins so the layout can change when your wardrobe changes.
A shelf depth of 12 inches handles most adult shoes without wasting floor area. Dress shoes can work on 10 inches, but pointed toes and larger sizes will hang over the front. For boots, measure the longest pair lying flat and add about an inch. Do not design from a showroom sample pair; design from the footwear that occupies your closet every week.
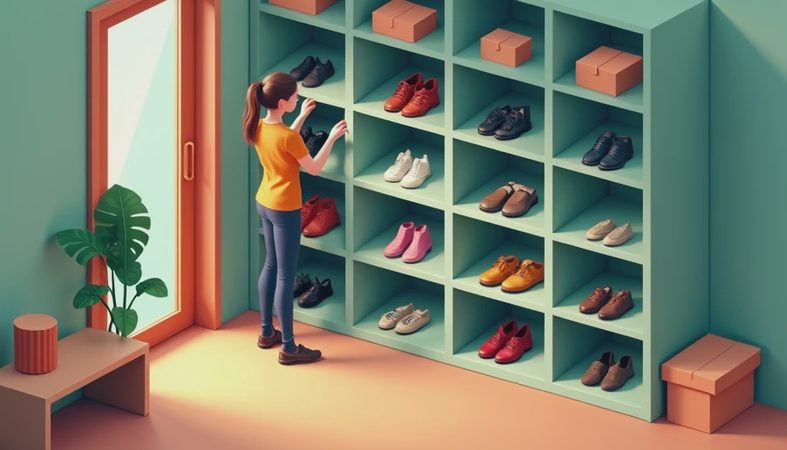
Angled shelves improve visibility, but they consume more vertical and front-to-back space. I use them selectively, usually for a narrow display section or shoes worn daily. Straight shelves pack more pairs into a small wall and are easier to clean. A 24- to 30-inch-wide bay is usually manageable; wider shelves can sag unless they have a center support or stronger material.
Make small closets earn their footprint
For a narrow walk-in, easy shoe storage solutions often involve using the back of the door or the dead space below hanging clothes. A door-mounted organizer works for sneakers, flats, and sandals if the hinges and door casing can support the added load. It is not my first choice for heavy boots, and it can reduce the usable opening by several inches.
The lower 12 to 18 inches of a hanging wall is another reliable location. Add a durable shelf above the floor, then leave enough room to pull out a shoe without kneeling against a cabinet. If the closet has a sloped ceiling, place lower shoes under the short side and reserve taller storage for the full-height wall.
Do not push shoes into a dark corner simply because the space is available. If you cannot see the back pair, you will wear the pair in front and forget the rest. Easy shoe storage solutions should reduce searching, not just move clutter from the bedroom floor into a cabinet.
Pick materials that tolerate real use
Easy shoe storage solutions need surfaces that can handle grit, moisture, and occasional muddy soles. Melamine shelving is practical and economical, especially in white or light gray, because dust is visible and the surface wipes clean. A quality plywood cabinet costs more but gives better edge strength for long shelves and heavy boots. Painted MDF can look finished, though damaged edges require prompt repair around wet footwear.
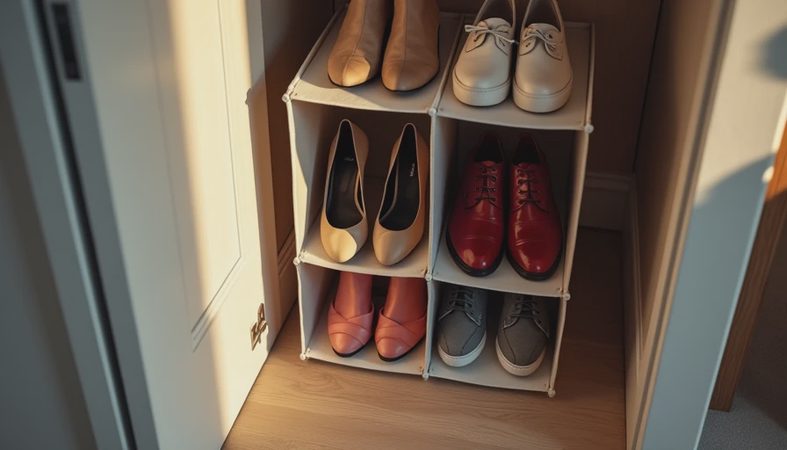
I avoid fabric shoe cubes in a permanent walk-in closet. They collect dust, collapse around wider shoes, and make it difficult to clean the floor underneath. Wire shelving is inexpensive and allows airflow, but thin heels can slip through the gaps. If you use wire, add solid shelf liners or choose a tighter grid.
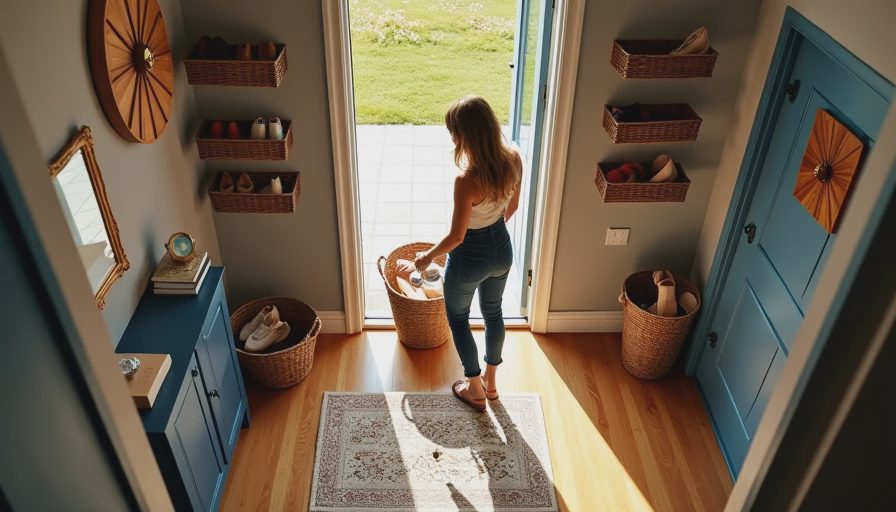
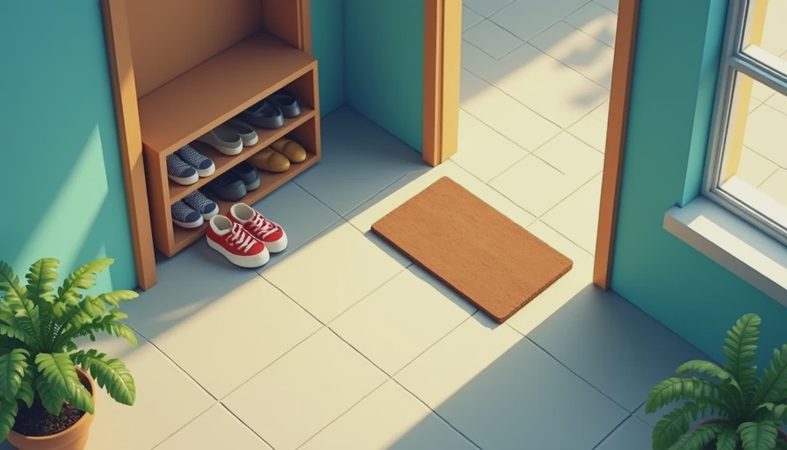
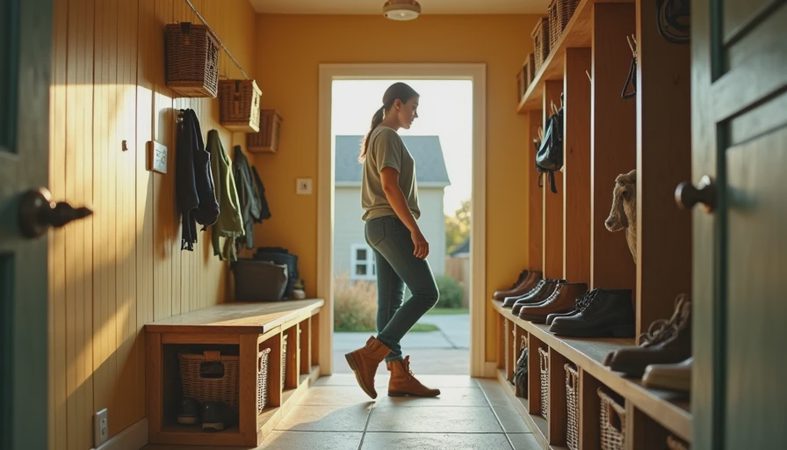
Wood shoe trays can be useful near the entry of a mudroom, where wet footwear needs to dry. Inside a conditioned closet, a ventilated shelf is usually enough. Let damp shoes dry before putting them into enclosed storage, and use a removable tray for salt or Oklahoma red dirt during winter and storm season.
Light the shoe area instead of overbuilding it
The best easy shoe storage solutions are visible at 6:15 AM, when the overhead fixture is behind your body. Put a ceiling light on a switch near the entrance, then consider low-voltage LED strips under shelves or along the side of a cabinet. Warm-neutral light around 3000K to 3500K shows color accurately without making the closet feel blue.
For built-ins, specify an aluminum channel with a diffuser rather than sticking bare LED tape to a shelf edge. The diffuser protects the strip and removes the dotted-light effect. Add a nearby outlet or have the lighting installer plan the transformer location before cabinets go in. Keep wiring accessible; a concealed component that cannot be serviced is not a professional solution.
Motion sensors are convenient, but use a manual override if the closet has a door that is often left open. Lighting should help you find a navy pump beside a black one, not create another finicky device to troubleshoot.
A workable plan for your next closet project
Easy shoe storage solutions usually cost less when planned as a simple elevation before shopping. Draw each wall on graph paper. Mark doors, windows, outlets, baseboards, and vents. Then list your actual footwear by category: daily sneakers, work shoes, sandals, ankle boots, tall boots, and special-occasion pairs. Count pairs, not individual shoes, and add a modest amount of empty capacity.
Price the options in stages. A freestanding IKEA-style cabinet or adjustable tower can solve a small collection for roughly $100 to $400. A wall of semi-custom components often lands around $800 to $2,500 before installation, depending on width and finishes. Fully custom cabinetry can go higher, but custom construction is worthwhile when the room has odd angles, deep drawers, or a specific accessibility requirement.
Before ordering, tape the cabinet footprint onto the floor. Open the closet door, walk the aisle, and pretend to reach for the back pair. If the taped layout feels awkward, the finished cabinet will not improve it. That ten-minute test is among the most reliable easy shoe storage solutions available.
Keep the system usable after installation
Easy shoe storage solutions only work when the maintenance is simple. Assign one shelf section to each category and return shoes to the same area. Keep a small washable mat nearby for dirty footwear, but do not let it cover the whole aisle or interfere with the door. Twice a year, remove pairs that no longer fit your routine and adjust shelf heights before the space fills again.
My final rule is unglamorous: leave some empty room. A shoe wall packed to its limit becomes hard to clean and impossible to adapt. Plan for the shoes you wear, build for the room you have, and let structure do more work than accessories. That is how a closet stays useful long after the installation photos are forgotten.
No comments yet — be the first to share a thought.