Most storage solutions for shoes fail before the first pair goes on the shelf. The problem is usually not a lack of baskets or clever products. It is a bad wall layout, insufficient shelf depth, a door swing that steals usable space, or an aisle narrowed by furniture. If you are reworking a walk-in closet, start with the room's bones, then choose shoe storage that matches the way you actually get dressed.
I have seen homeowners spend $1,200 on a rotating shoe tower and still leave sneakers in a hallway pile because the tower was installed behind the closet door. A plain adjustable shelf on the correct wall would have worked better. Measure first. Shop second.
Start with the wall, door, and aisle
Before selecting storage solutions for shoes, mark the door swing on the floor with painter's tape. A standard hinged door can consume 30 to 36 inches of wall clearance when open. If a shoe cabinet lands in that zone, its drawers will not open fully and the bottom shelves will become dead space. Pocket doors and outswing doors can recover valuable room, but they require decisions about framing and trim before drywall.
A comfortable closet aisle needs at least 36 inches. I prefer 42 inches when two people dress in the room or when a center island is part of the plan. A shoe shelf that projects 12 inches into a narrow passage can make the difference between walking through comfortably and turning sideways to reach a hanger.
Check the studs before specifying a tall cabinet. Freestanding units can sit almost anywhere, but wall-mounted shelves need reliable attachment points or blocking. If you are adding blocking during a renovation, place it behind the planned shoe wall at several heights. That gives you flexibility when your collection changes from flats to boots.
Choose shelf dimensions for the shoes you own
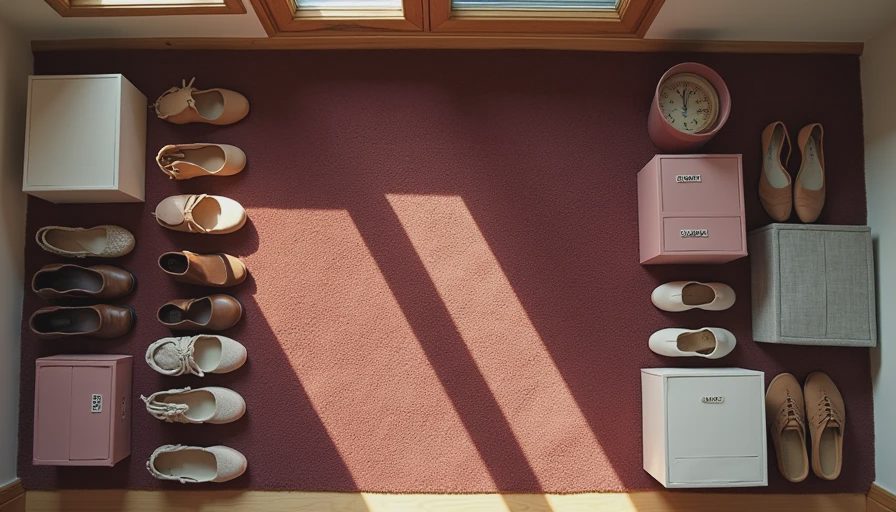
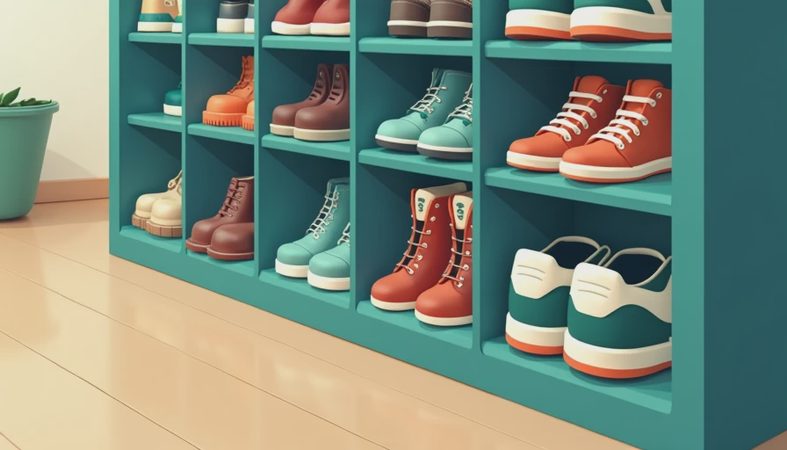
The best storage solutions for shoes are sized around categories, not an imaginary average pair. Low-profile flats and sandals usually need about 6 to 7 inches of vertical clearance. Running shoes and casual sneakers need closer to 8 inches. Ankle boots often require 10 to 12 inches, while tall boots need a dedicated section between 16 and 20 inches, depending on the shaft.
Shelf depth matters just as much. Twelve inches is a dependable starting point for most adult footwear. Narrower shelves can work for women’s flats, but they often leave sneaker toes hanging over the front edge. Deeper shelves waste space unless they hold boots, boxes, or larger men’s shoes. If you use angled shelves, measure from the lowest front edge to the back wall; the usable surface is usually smaller than the advertised depth.
I generally specify adjustable shelves rather than fixed openings. A fixed 7-inch grid looks orderly for six months, then becomes frustrating when winter boots arrive. Pin holes spaced about 1 to 1 1/4 inches apart let you move shelves without rebuilding the cabinet. Use a solid melamine or plywood shelf with a sealed edge. Wire shelving is inexpensive, but narrow heels can slip through and dust collects on the horizontal wires.
Compare open shelves, drawers, and cabinets
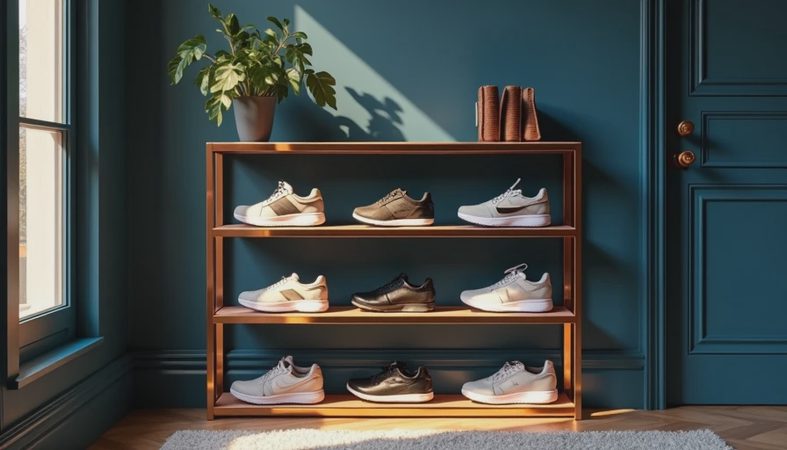
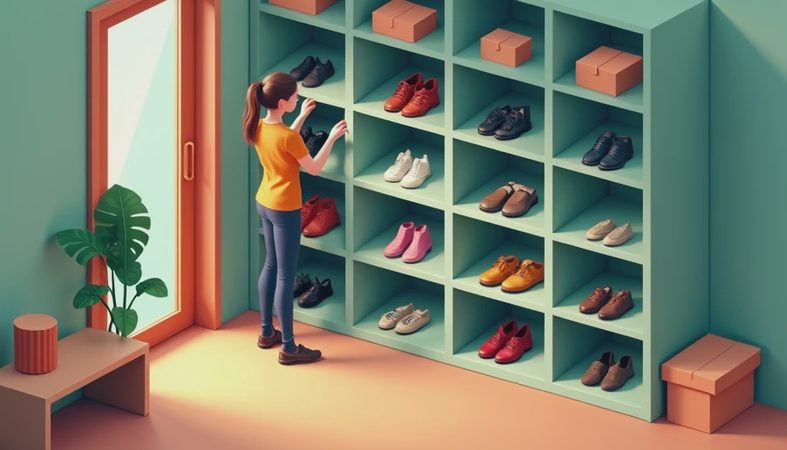
Open shelves are the most practical choice when you wear most of your shoes weekly. They provide a quick visual scan, cost less than drawers, and make ventilation easier. A 24-inch-wide bay can hold several pairs without turning the wall into a narrow shoe store. Keep frequently worn pairs between knee and eye level; reserve the floor and highest shelf for occasional footwear.
Drawers are useful for sandals, slippers, and small accessories, but they are inefficient for tall boots. A drawer front and slide hardware can add roughly 3 inches to the vertical space required for each compartment. Wide drawers also become heavy when loaded with shoes. If you want drawers, use them below hanging clothes or in a center island, not across the entire shoe wall.
Closed cabinets are the right answer when the closet is dusty, near a garage, or visible from a bedroom. They protect leather and reduce visual noise, but they need ventilation. Small gaps at the back or discreet vent holes help prevent trapped moisture. Do not pack damp shoes into a sealed cabinet after rain. Let them dry completely first, especially leather boots and athletic shoes.
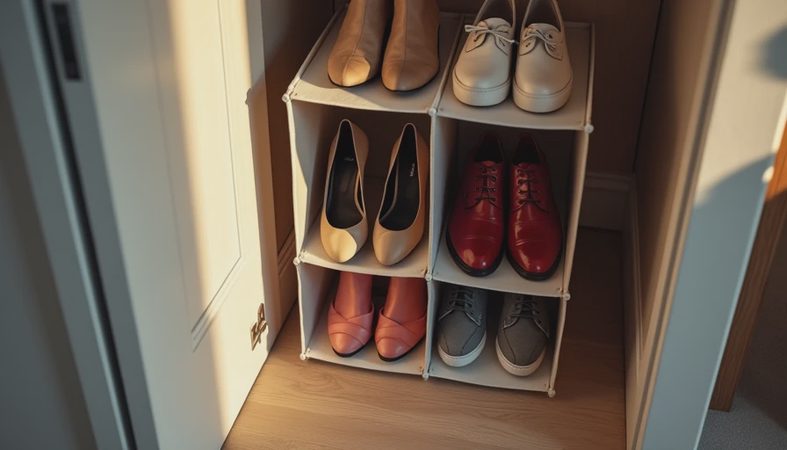
For a budget installation, a modular bookcase-style unit can work if it is anchored to the wall and its shelves are reinforced. IKEA PAX components offer useful height and adjustable interiors, while The Container Store's Elfa system is flexible for changing layouts. Custom cabinetry earns its cost when you need unusual depths, angled corners, or a continuous run that must fit around outlets and trim.
Put the awkward pairs where they belong
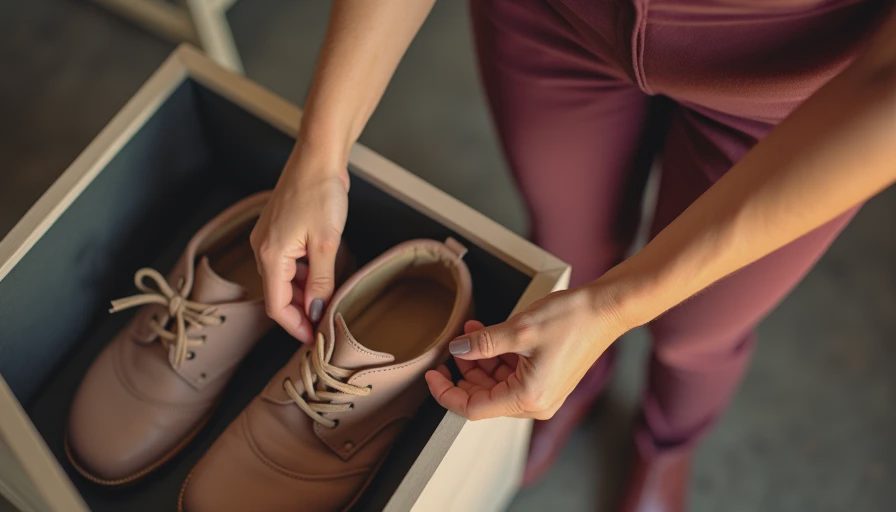
Tall boots are where many storage solutions for shoes lose their credibility. Do not force them into a standard shelf bay and crush the shafts. Give them a 16- to 20-inch-tall compartment, or use boot hooks on a low rod. Leave enough floor clearance for the heels and keep the rod away from the door casing. Boot shapers are helpful for leather, but they should not turn a tight compartment into a wrestling match every morning.
Heels need a different approach from sneakers. Angled shelves display them well, but they take more vertical space and can reduce capacity. A shallow ledge with a raised front lip works for low heels and pumps. For expensive pairs, individual cubbies prevent one shoe from rubbing against another, though they cost more wall width. I would use cubbies selectively for dress shoes and open shelves for everyday pairs.
Seasonal storage belongs in the least convenient zone. In Oklahoma City, winter boots are not needed through the full summer, and sandals do not need prime eye-level space in January. Use labeled boxes on the top shelf, but record the contents on your phone. A box labeled “boots” is less useful than “black knee-high boots, brown ankle boots.”
Plan lighting and cleaning before installation
Shoe storage needs enough light to distinguish navy from black and to spot dust before it transfers to clothing. A ceiling fixture alone creates shadows under shelves. Add LED strip lighting beneath each shelf or use vertical lighting at the cabinet sides. Specify the outlet and transformer location before the drywall closes. I once reviewed a shoe wall where the only outlet ended up behind the cabinet; the owner had to cut an access hole after installation.
Choose finishes that wipe clean. White melamine shows dirt quickly but makes dark interiors easier to see. Wood-look laminate hides scuffs and can make a long wall feel less institutional. Carpeted closet floors are comfortable, but they trap grit under shoe shelves and are harder to vacuum at the back edge. Hard flooring with a washable runner is usually the more maintainable choice.
Leave a cleaning gap where possible. A 3-inch toe-kick recess lets a vacuum head reach beneath the lowest shelf, and removable shelves make seasonal cleaning less tedious. Avoid building a sealed platform directly on the floor unless you have a specific reason to do so.
A practical layout for different budgets
A small budget does not require a bad closet. Reserve one 24- to 36-inch-wide wall section for adjustable shelves, anchor a modular unit, and use the upper shelf for boxed seasonal pairs. This approach can land around $150 to $500 depending on materials and whether you install it yourself.
At a midrange budget, combine a custom-looking shelf tower with two drawers and a dedicated boot bay. Expect roughly $800 to $2,000 for materials and installation, depending on width, finish, and hardware. This gives you visibility without paying for drawers where they do not improve access.
A higher-end build can use full-height cabinetry, integrated lighting, ventilated doors, and a pull-out bench or hamper. Spend the money on accurate fitting, durable slides, and proper wall anchoring before decorative trim. A beautiful shoe wall that blocks the outlet or pinches the aisle is still a failed installation.
The most reliable storage solutions for shoes are not the most complicated. They are measured to the room, sized to the footwear, lit well, and placed where your hand naturally reaches. Draw the wall elevations, count your pairs by category, and test the door swing with cardboard boxes before ordering anything. That ten-minute mock-up can save a weekend of returns and a cabinet you will resent every morning.
If you are planning a larger closet renovation, bring the shoe wall into the electrical and framing plan early. Good storage is not an accessory added after the room is finished. It is part of the room's structure, and the structure is what makes the system work.
No comments yet — be the first to share a thought.