Small space shoe storage solutions have to solve a geometry problem before they solve an organization problem. In a narrow closet, every inch belongs to something: the door needs clearance, the hanging clothes need depth, and your feet need a usable aisle. A shoe rack that sticks out 14 inches can make a 30-inch passage feel unusable. Start by measuring the room, not by ordering the first attractive organizer you see online.
I begin with three measurements: the available wall width, the depth from the wall to the nearest obstruction, and the clear walking space after storage is installed. A practical closet aisle is at least 36 inches wide. Thirty inches is workable in a tight reach-in, but it will feel cramped when you are carrying a laundry basket. Mark the proposed shoe unit on the floor with painter's tape and open the door fully before drilling anything.
Use vertical walls before taking over the floor
The most efficient small space shoe storage solutions usually move upward. A wall-mounted rail, narrow adjustable shelf, or series of angled shelves can use the space between the floor and the bottom of a hanging rod. For everyday sneakers and flats, shelves 7 to 8 inches apart are usually enough. Boots need more height, often 14 to 18 inches depending on the shaft.
Do not assume every wall can carry a loaded cabinet. Locate studs before installation, especially if you are mounting a metal track or a shelf system filled with leather shoes. In older Oklahoma City houses, plaster, patched drywall, and uneven framing are common surprises. Use a stud finder, confirm the location with a small pilot hole, and choose fasteners rated for the combined weight of the shelving and shoes.
A shallow shelf is better than a deep shelf used badly. Most adult shoes fit on a shelf 10 to 12 inches deep. Anything deeper encourages a second row, which hides the shoes behind it and turns the back row into forgotten inventory. If you need more capacity, use a second vertical level rather than pushing the shelf farther into the aisle.

Reclaim the back of the door
The closet door is often the largest unused vertical surface in the room. Over-door organizers can hold sandals, sneakers, and low-profile shoes without consuming floor space. Look for a model with a rigid frame or secure wall attachment rather than a soft pocket organizer that swings and bangs against the door.
Before buying, measure the gap between the door and the trim. The hardware may require 1 to 2 inches of clearance, and the loaded organizer can add another 4 to 6 inches. Confirm that the door still opens at least 90 degrees. If the shoe rack collides with a side wall, your improved storage has simply created a new daily annoyance.
For a cleaner built-in approach, a shallow cabinet mounted to the inside of the door can work well, but only when the hinges are strong enough for the extra weight. A full collection of boots can make a lightweight hollow-core door sag. In that case, install a wall-mounted unit beside the door or reduce the load to the shoes worn most often.
Choose the right format for your shoe collection
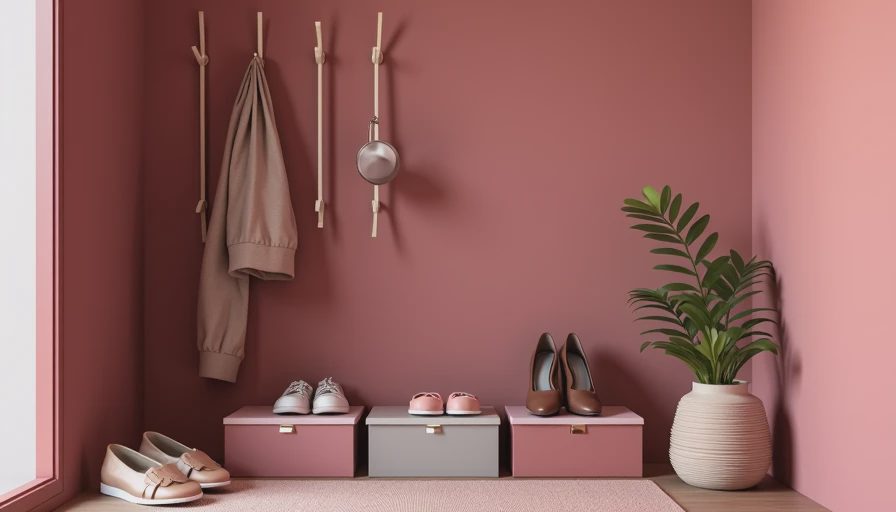
The best small space shoe storage solutions depend on the shoes you actually own, not an imaginary collection of identical white sneakers. Count your categories before choosing the hardware. Flats and sandals can use shallow shelves or clear boxes. Running shoes need ventilation and quick access. Heels benefit from a lip or angled shelf so they do not slide forward. Tall boots need open compartments and support that prevents the shafts from folding.
A two-tier rack under a hanging section is useful when the bottom rod is at least 40 inches above the floor. It can hold approximately 12 to 16 pairs while keeping the upper rod accessible. For a narrow wall, a 24-inch-wide tower with adjustable shelves is more flexible than a fixed cubby unit. Adjustable shelves let you change the layout when winter boots replace summer sandals.
I avoid rotating shoe carousels in small closets unless the room has generous clearance. They look efficient in product photos, but many require a surprisingly wide footprint and leave awkward dead space around the mechanism. A plain vertical shelf is less exciting and usually gives you more usable capacity per inch.
Plan for seasonal rotation
Not every pair needs prime real estate. In my own closet, Oklahoma summers mean sandals and lightweight sneakers get the easiest access, while heavy boots move to higher shelves during the warm months. During winter, the arrangement reverses. Seasonal rotation prevents the floor from becoming a permanent parking lot for shoes.
Store the off-season group in labeled, ventilated boxes on an upper shelf, under a bed, or in a separate hall closet. Photographing each pair before boxing it saves time later, especially when the containers are opaque. Avoid sealed plastic bags for leather or damp footwear; trapped moisture can damage materials and create odors.
Leave a small amount of expansion room. If every shelf is packed edge to edge, one new pair forces a pile on the floor. A useful rule is to leave roughly 10 percent of the shelf width open. That gap also makes it easier to pull shoes forward without knocking over the neighboring pair.
Work around outlets, trim, and real construction
Storage plans fail when they ignore the wall behind them. Check for electrical outlets, baseboard thickness, HVAC vents, and the swing of nearby doors. Never cover an outlet permanently with a fixed cabinet unless the installation allows safe access and complies with local requirements. An outlet behind a shoe wall is not a design detail; it is a future maintenance problem.
Baseboards can push a shelf several inches away from the wall. You can notch the unit, use a cleat, or select a freestanding system with adjustable feet. Do not remove trim simply to make an inexpensive organizer fit unless you are prepared to patch and repaint. In a rental, a slim 8-inch-wide shelf tower or tension-supported unit is usually a smarter choice than a permanent installation.
Lighting deserves attention, too. Shoes stored in a dark corner are shoes you will forget. A plug-in LED strip or motion-activated puck light can make a narrow shelf functional without opening the wall for new wiring. Keep cords secured along the side or back so they cannot catch on heels or boot hardware.
A practical installation sequence
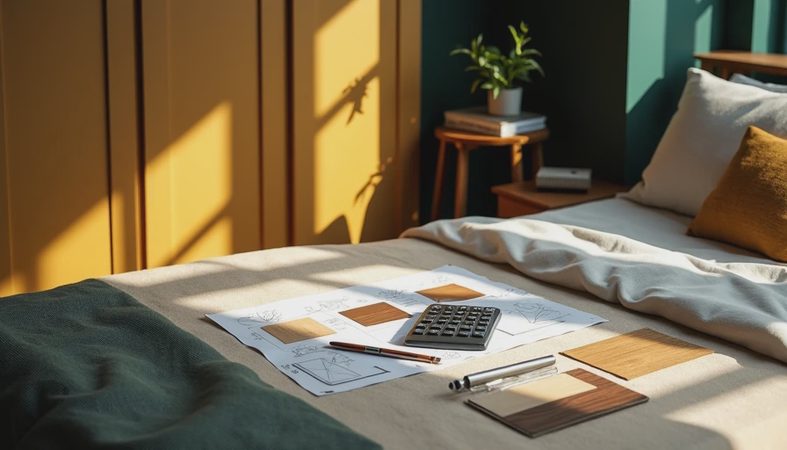
Measure the empty area twice, including the door swing. Sort shoes by type and frequency of use. Sketch the shelf widths and heights on graph paper, then mark the footprint on the floor with tape. Confirm stud locations and identify outlets before purchasing materials.
Install the highest component first, then work downward. This prevents a lower shelf from blocking your drill and gives you a chance to check the aisle after each section. Load the unit gradually instead of filling it immediately. If the shelves bow, the anchors shift, or the door drags, fix the structure before adding more weight.
The most dependable small space shoe storage solutions are not necessarily the most expensive. A $60 adjustable shelf can outperform a $250 rotating rack when the shelf depth, anchoring, and aisle clearance are right. Spend money on solid hardware and adjustable parts before decorative bins. Your closet has to work at 6:15 AM, when you are choosing shoes with one hand and holding coffee with the other.



No comments yet — be the first to share a thought.